

Step 1
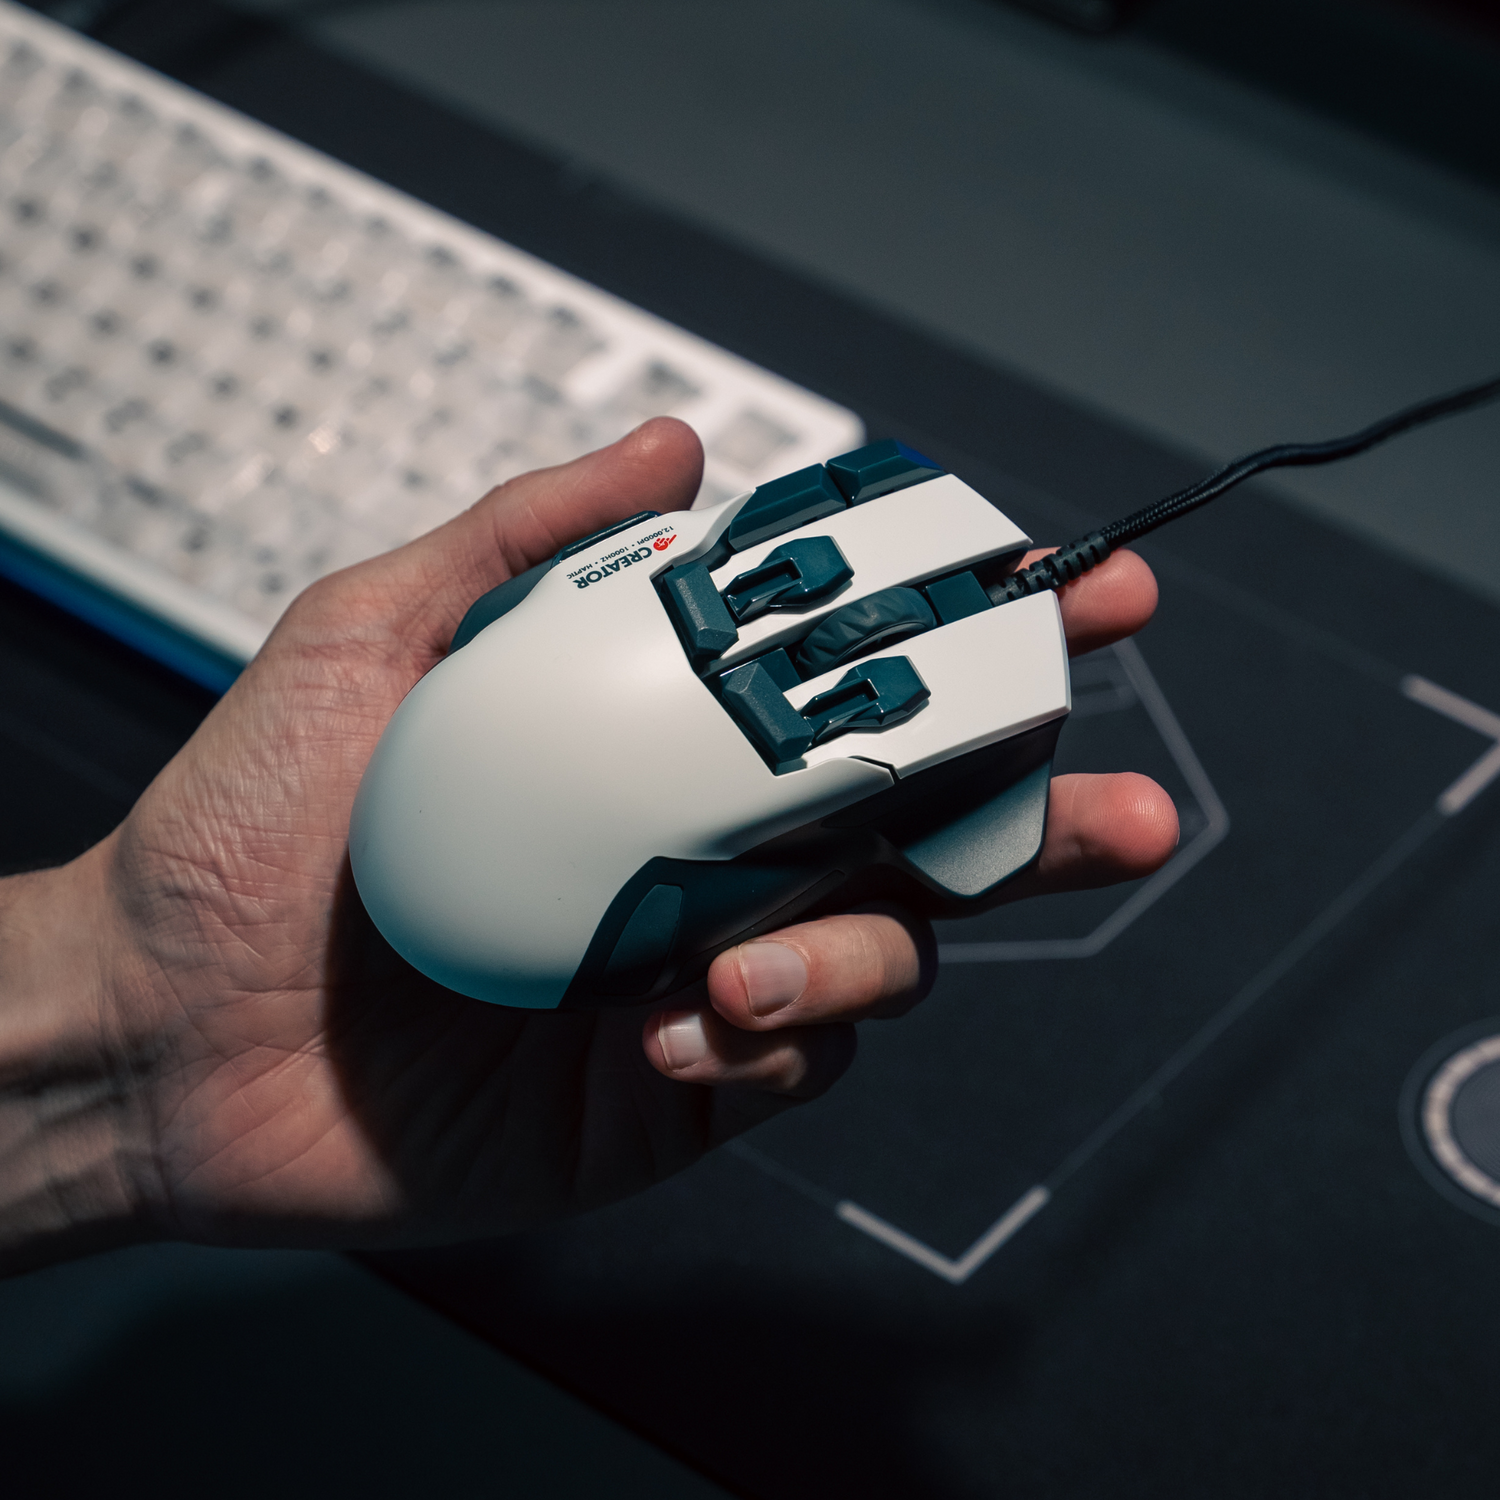
Connect your mouse to your device via USB.
Step 2
Hardware Setup
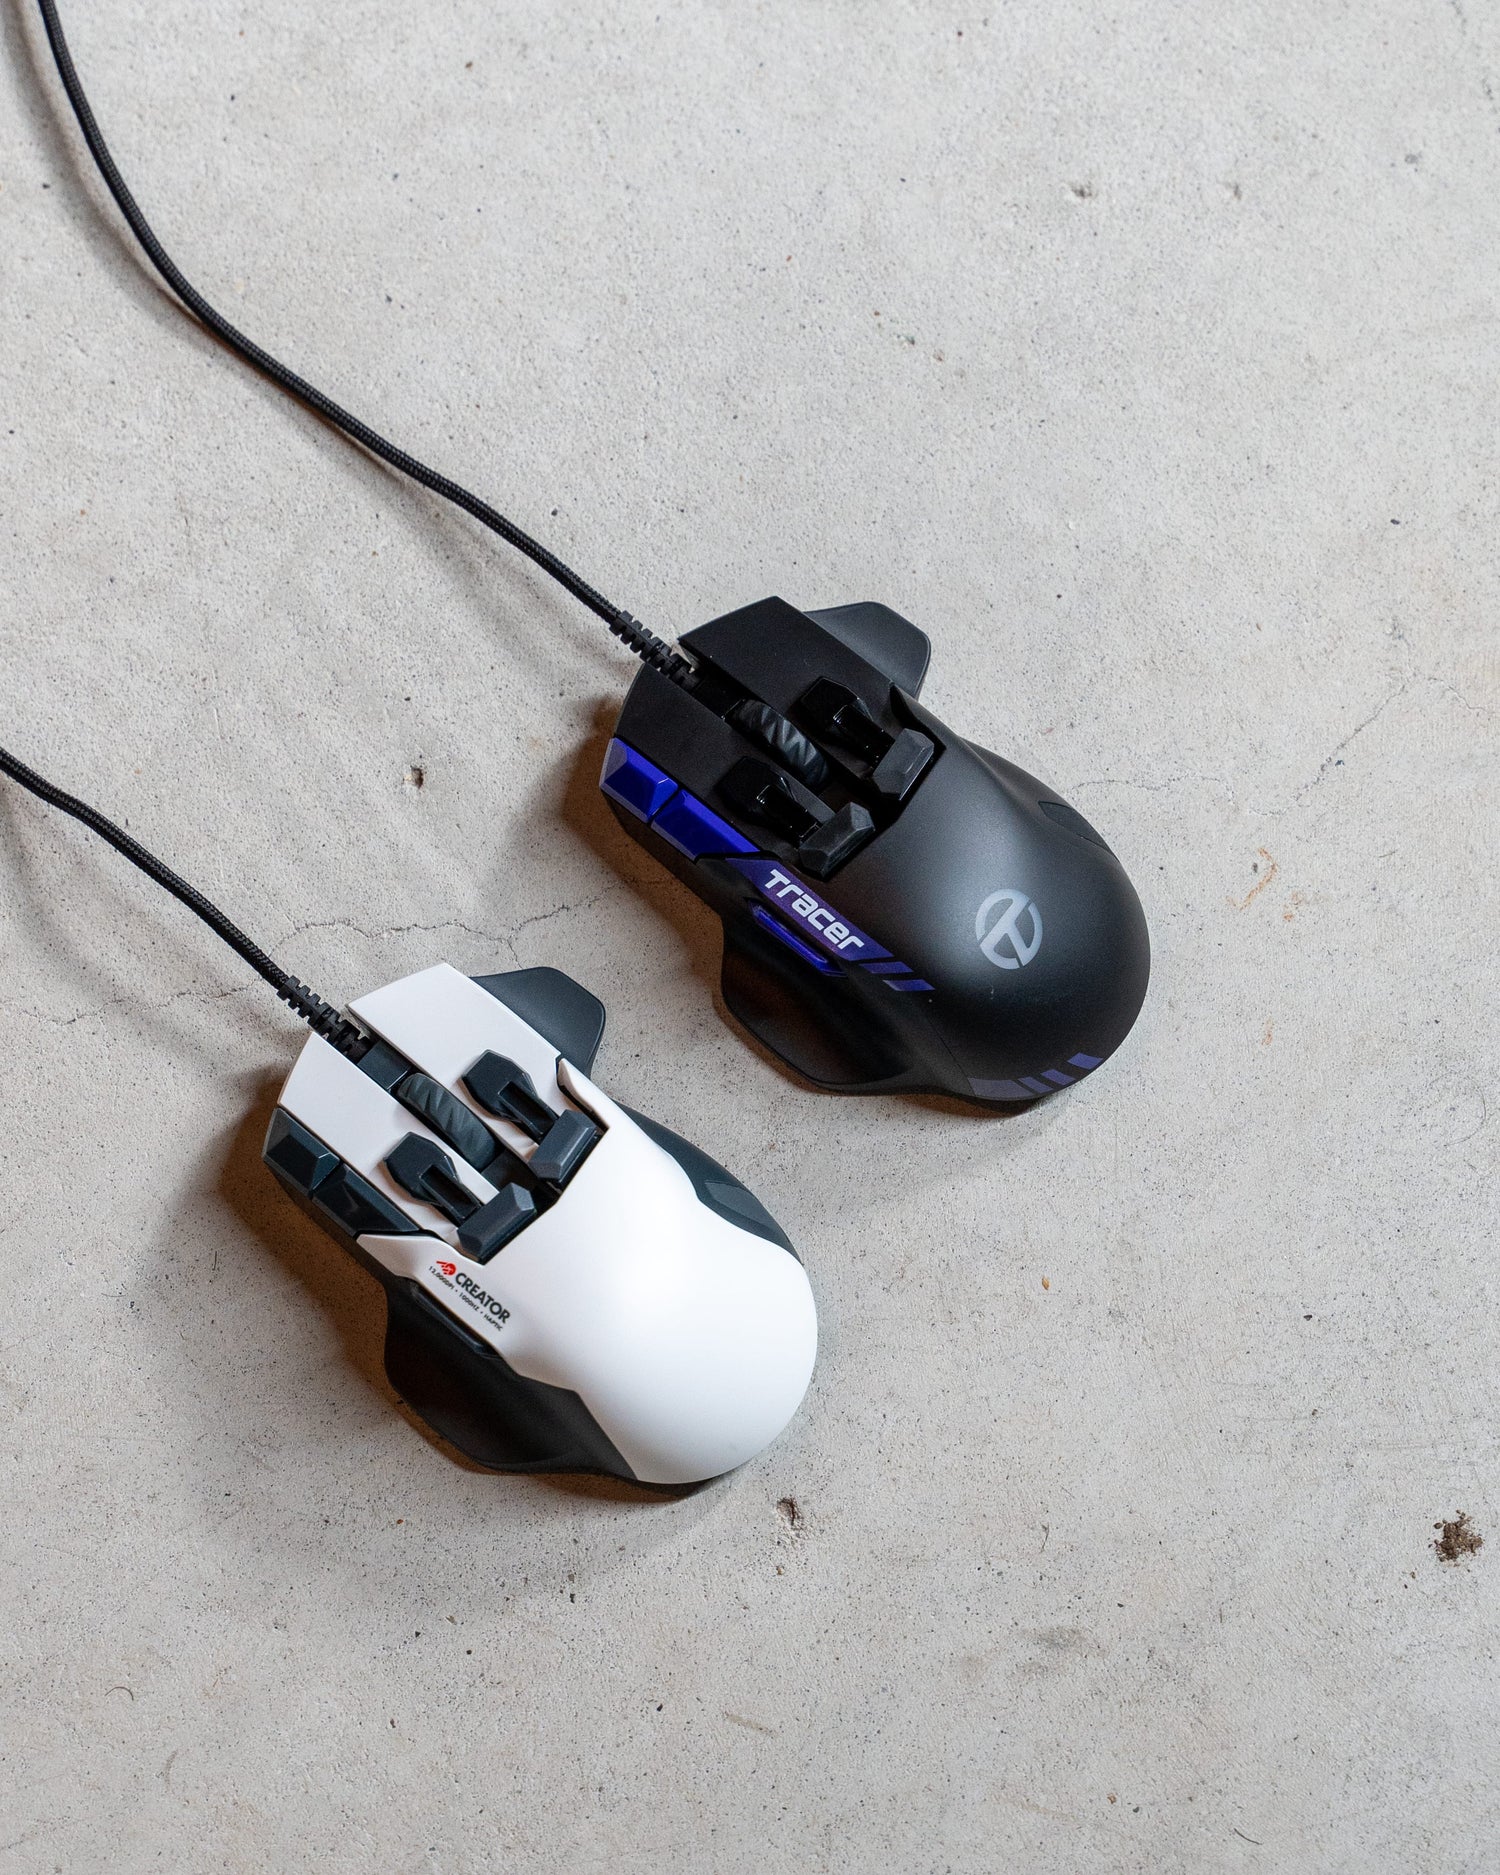
Your mouse will come with two sets of caps for the trigger and fingertip buttons.
The trigger buttons are both different thicknesses and can be rotated to adjust where the button makes contact with your finger.
The fingertip buttons sit to the rear of the two main mouse buttons, so are activated by slightly shifting your fingertips back towards the triggers. Like the triggers they also come with two types of caps; long and short.
We recommend trying out the different options to see what works best for you.

Step 3
Download the X1 Control Panel.
Your mouse will be functional as soon as you have connected to it, but to configure its settings and access its advanced functionality you will need to install our Control Panel software.
This is available for Windows 7+ and macOS 10.12+. The latest versions are available from the article below.

Step 4
Learn more about the X1 Control Panel and how to customize profiles on the Swiftpoint Forum by clicking the button below.
Step 5
Register Your Device to stay informed on the latest software updates and promotions.